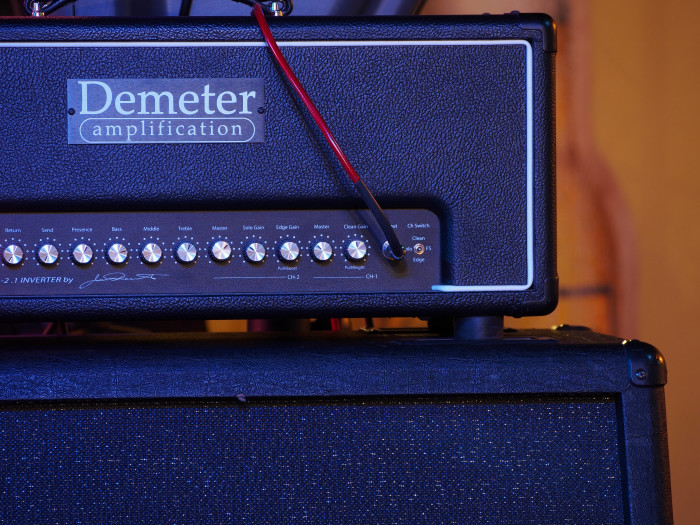
Distortion + filtering = something that can pass as a guitar amplifier in an emergency.
Please Remember:
The opinions expressed are mine only. These opinions do not necessarily reflect anybody else’s opinions. I do not own, operate, manage, or represent any band, venue, or company that I talk about, unless explicitly noted.

 Want to use this image for something else? Great! Click it for the link to a high-res or resolution-independent version.
The Video
The Script
Imagine the scene: You’re setting up a band that has exactly one player with an electric guitar. They get to the gig, and suddenly discover a problem: The power supply for their setup has been left at home. Nobody has a spare, because it’s a specialized power supply – and nobody else plays an electric guitar anyway. The musician in question has no way to get a guitar sound without their rig.
At all.
As in, what they have that you can work with is a guitar and a cable. That’s it.
So, what do you do?
Well, in the worst-case scenario, you just find a direct box, run the guitar completely dry, and limp through it all as best you can.
But that’s not your only option. If you’re willing to get a little creative, you can do better than just having everybody grit their teeth and suffer. To get creative, you need to be able to take their guitar rig apart and put it back together again.
Metaphorically, I mean. You can put the screwdriver away.
What I’m getting at is this question: If you break the guitar rig into signal-processing blocks, what does each block do?
When it comes right down to it, a super-simple guitar amp amounts to three things: Some amount of distortion (including no distortion at all), tone controls, and an output filter stack.
The first two parts might make sense, but what’s that third bit?
The output filtering is either an actual loudspeaker, or something that simulates a loudspeaker for a direct feed. If you remove a speaker’s conversion of electricity to sound pressure waves, what’s left over is essentially a non-adjustable equalizer. Take a look at this frequency-response plot for a 12″ guitar speaker by Eminence: It’s basically a 100 Hz to 5 kHz bandpass filter with some extra bumps and dips.
It’s a fair point to note that different guitar amps and amp sims may have these different blocks happening in different orders. Some might forget about the tone-control block entirely. Some might have additional processing available.
Now then.
The first thing to do is to find an active DI, if you can. Active DI boxes have very high input impedances, which (in short) means that just about any guitar pickup will drive that input without a problem.
Next, if you’re as lucky as I am, you have at your disposal a digital console with a guitar-amp simulation effect. The simulator puts all the processing I talked about into a handy package that gets inserted into a channel.
What if you’re not so lucky, though?
The first component is distortion. If you can’t get distortion that’s basically agreeable, you should skip it entirely. If you must generate your own clipping, your best bet is to find some analog device that you can drive hard. Overloading a digital device almost always sounds terrible, unless that digital device is meant to simulate some other type of circuit.
For instance, if you can dig up an analog mini-mixer, you can drive the snot out of both the input and output sides to get a good bit of crunch. (You can also use far less gain on either or both ends, if you prefer.)
Of course, the result of that sounds pretty terrible. The distortion products are unfiltered, so there’s a huge amount of information up in the high reaches of the audible spectrum. To fix that, let’s put some guitar-speaker-esque filtering across the whole business. A high and low-pass filter, plus a parametric boost in the high mids will help us recreate what a 12″ driver might do.
Now that we’ve done that, we can add another parametric filter to act as our tone control.
And there we go! It may not be the greatest guitar sound ever created, but this is an emergency and it’s better than nothing.
There is one more wrinkle, though, and that’s monitoring. Under normal circumstances, our personal monitoring network gets its signals just after each channel’s head amp. Usually that’s great, because nothing I do with a channel that’s post the mic pre ends up directly affecting the monitors. In this case, however, it was important for me to switch the “monitor pick point” on the guitar channel to a spot that was post all my channel processing – but still pre-fader.
In your case, this may not be a problem at all.
But what if it is, and you don’t have very much flexibility in picking where your monitor sends come from?
If you’re in a real bind, you could switch the monitor send on the guitar channel to be post-fader. Set the fader at a point you can live with, and then assign the channel output to an otherwise unused subgroup. Put the subgroup through the main mix, and use the subgroup fader as your main-mix level control for the guitar. You’ll still be able to tweak the level of the guitar in the mix, but the monitor mixes won’t be directly affected if you do.