Tag Archives: How-To

Mercenary Maxims: Part 1

The order you do things in matters.

Please Remember:

The opinions expressed are mine only. These opinions do not necessarily reflect anybody else’s opinions. I do not own, operate, manage, or represent any band, venue, or company that I talk about, unless explicitly noted.

Want to use this image for something else? Great! Click it for the link to a high-res or resolution-independent version. Original photo is a CC0 found at Pixabay: https://pixabay.com/en/geometry-mathematics-cube-1922743/

I’m a longtime fan of Schlock Mercenary, a comic about a spaceborne military unit for hire. One of the features of the story is The Seventy Maxims of Maximally Effective Mercenaries, a collection of proverbs regarding mercenary life.

A funny thing that I noticed was how you can apply those proverbs to the live music world as well.

Thus, I am today embarking on a series that looks at how some of the Maxims relate to being an effective audio human. I’m not sure exactly how long the series will run, or if it will be “on again, off again.” We’ll all have to find that out together. It’s an adventure! You like adventures, right?

Pillage, Then Burn

When working on shows, I’ve noticed that taking actions out of an established order can cause problems:

“Hey…why isn’t [this or that] working? Where’d [this or that] go?”

It’s all because workflow has a real impact on getting things done quickly and effectively. When you’re running on a tight workflow, one that’s well-defined, “ticking all the boxes” is much easier because you don’t have to stop to think about which boxes have full or partial checkmarks in them. You don’t complicate the work by having to keep in mind the organization of the work. Things are much less likely to be forgotten.

Now, the point here is not that any particular kind of work organization is the right one. For instance, I like to wrangle tasks in blocks when I can – get all the power sources and drops figured out, then place everything, then plug everything into a power supply, then run signal, etc. You might prefer a one unit at a time approach. Either way works. The key is trying not to have something interrupted midstream, like getting halfway done with plugging power and then running off to manage a signal run to FOH. An hour later, you’re wondering why half your powered wedges don’t work – and then you realize that they never got electricity connected.

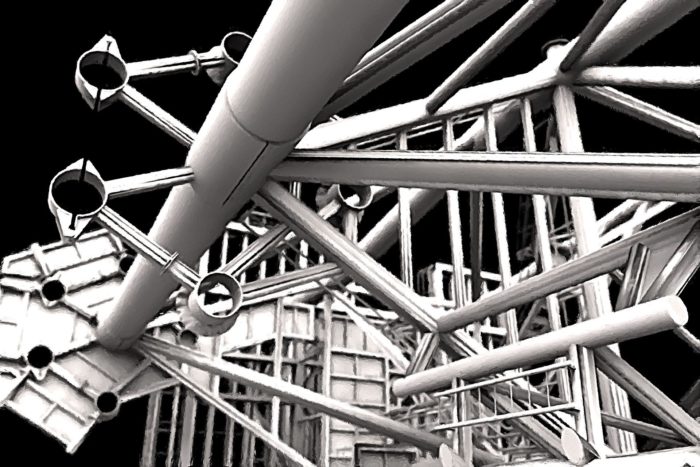
The above is a “macro scale” application. Another way in which order of operations matters is accessibility for connection and configuration, which is a “micro scale” consideration. Through long experience, I’ve learned that sometimes you DON’T want to lift or hoist everything to its final trim height at the same time. Running signal between loudspeakers or light trees? Connect the power and input signal, and ALSO connect the output signal drop. Don’t complete the output run – just get a pigtail ready that will be easily accessible once its source connection is in the sky. Check all your switches, and flip the power on if that would be hard to do later. Then, lift whatever you’ve just been fiddling with to its working height. Do any final cable dressing for that piece of the system.

What you end up with is a piece of your setup that’s in the air, with everything pertaining to it connected so that you don’t have to try to work on it while it’s out of reach. With an output drop connected and dressed, you also know whether you’ll need to extend the drop (or not) to have enough allowance of slack for lifting the next piece.

Getting this wrong means dropping hangs/ lifts back in to work on things, or trying to find a ladder, chair, or stepstool at an inconvenient moment. (Ask me how I know this…)

Doing the work in the right order is important at all scales. It helps ensure success by way of The Law Of Conservation Of Effort: You get to put almost all your effort into doing the work, and very little has to be expended on ad-hoc project management.

A Plan For Delays

I think this should probably work. Maybe.

Please Remember:

The opinions expressed are mine only. These opinions do not necessarily reflect anybody else’s opinions. I do not own, operate, manage, or represent any band, venue, or company that I talk about, unless explicitly noted.

Want to use this image for something else? Great! Click it for the link to a high-res or resolution-independent version.

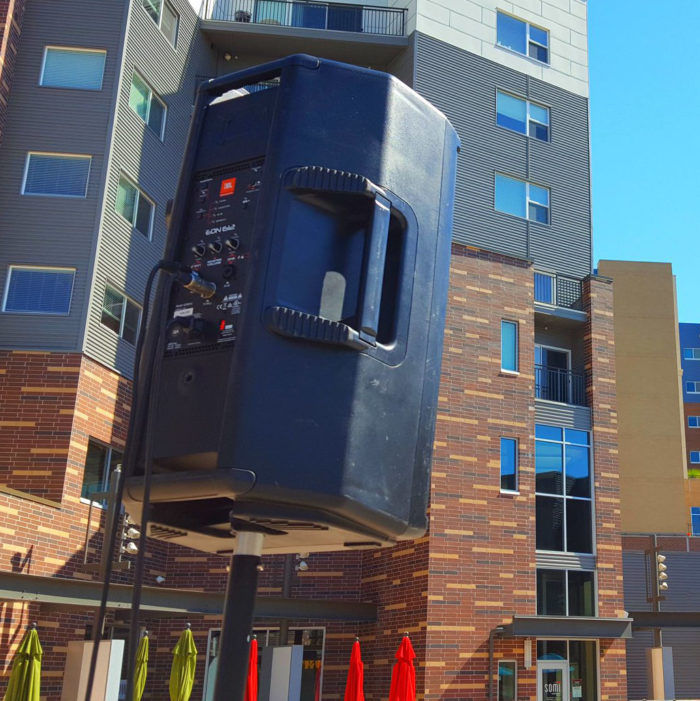
Last year, I did a show at Gallivan Plaza that really ought to have had delays, but didn’t. As a result, the folks sitting on the upper tiers of lawn didn’t get quite as much volume as they would have liked. This year, I intend to try to fix that problem. Of course, deploying delays is NOT as simple as saying “we’ll just deploy delays.” There’s a bit of doing involved, and I figured I would set out my mental process here, before actually having a go.

Then, after all is said and done, we can review. Exciting, no?

So, here’s the idea:

A) Set primary FOH as a “double-hung” system. Cluster the subs down center, prep to put vocals through the inner pair of full-range boxes, and prep to send everything else to the outer pair. Drive the main PA with L/R output.

B) Have the FOH tent sit on the concrete pad about 60 feet from the stage.

C) At roughly an 80 foot distance, place the delays. The PA SPL in full-space at that point is expected to be down about 28 dB from the close-range (3 feet/ 1 meter) SPL.

D) Place a mic directly in front of one side of the main PA, and another mic in the center of the audience space, at the 80-foot line. (The propagation time to the delays will be slightly different depending on where people sit, so a center position should be a decent compromise.) Using both mics, record an impulse being reproduced only by the main PA. Analyze the recording to find the delay between the mics.

E) Send L/R to Matrix 1, assign Matrix 1 to an output, then apply the measured delay to that output. Connect the output to the delays. Also, consider blending the subwoofer feed into Matrix 1 if necessary.

F) Set an initial drive level to the delays so that their SPL level is +6 dB when compared to the output of the main PA. The added volume should help mask phase errors with the delays for listeners in front of the delay speakers, due to the contribution from the main PA being of much reduced significance…but it may also be possible that the added volume will be a problem for people sitting between the delays and the main PA. “Seasoning to taste” will be necessary. (For people sitting between the main PA and the delays, the time correction actually makes the delays seem to be MORE out of alignment than less, so the delays being more audible is a problem.)

So, there you go! I’ll let everybody know how this works. Or how it doesn’t.


Start From The Top

When working on mixing a “bass” instrument, don’t necessarily start with the low frequency information.

Please Remember:

The opinions expressed are mine only. These opinions do not necessarily reflect anybody else’s opinions. I do not own, operate, manage, or represent any band, venue, or company that I talk about, unless explicitly noted.

Want to use this image for something else? Great! Click it for the link to a high-res or resolution-independent version.

Whenever I have a problem (that is genuinely my problem and not because of the instrument or player) where a bass guitar, kick drum, or other “LF” instrument is just a pile of boom or indistinct rumble, it’s often because I failed to “start from the top.”

Or, the middle at least.

You see, it’s not really all about that bass. I’ve said many times that low-frequency information IS important and part of “the fun,” and that hasn’t changed for me. In truth, though, a mix stands or falls on the absolutely critical midrange (where almost all the musical information actually sits). It’s my very strong opinion that the midrange information, then, should be what you start with whenever possible. The “impact” of a kick drum? The sound that makes that giant percussion instrument sound like it’s aggressive and smashed against your nose? That’s almost always high-mid information and up. The definition and character of a bass guitar that really gives it the ability to speak in a musical way? Low-mids and up.

So, I say to you, get those areas right first. Yank down your aux-fed-sub drive sends and roll those channel HPF filters up. Use a low-shelf EQ as a sledgehammer if necessary. Especially do this, and do it more aggressively if you’re starting from what sounds like a muddy mess. Then, start pushing that fader upwards. You may need to run your preamp or trim level a bit hotter than you’re used to, but eventually, you should find a place where what’s still passing through ends up dropping into place with the rest of the band. If you’re just listening to one channel at a time, then you can ballpark yourself by finding a satisfying blend with the wash coming off the deck.

After that’s done, THEN start letting some bass frequencies through. You may find that you need a lot less LF than you first thought, especially if you were driving the deep-down sound hard in an effort to hear the instrument in question. I find it quite trivial to create a whole maelstrom of booming slop if I’m using the subwoofers to push something like a kick drum into the right place against everything else, but I find it much harder to make a mess if I park the “click” in a handy place, and then gently move the bottom into alignment afterwards.

It’s a bit counter intuitive, I know, but I can’t remember a time where I put the mids and highs under a microscope first and ended up with a result I disliked. At the same time, I can easily remember all kinds of situations where I didn’t, and subsequently backed myself into a terrible-sounding corner by starting with a bunch of unreadable low end.

Oh, and here’s a postscript bombshell for you: I have a sneaky suspicion that, for many engineers, the subwoofers they end up saying are the punchiest are actually very similar to other offerings in the general class. My guess is that the REAL difference was how the full-range PA mated with those subs, and that’s what got their attention.


A Simple Guideline For Recording Yourself

An article I wrote for Schwilly Family Musicians.

Please Remember:

The opinions expressed are mine only. These opinions do not necessarily reflect anybody else’s opinions. I do not own, operate, manage, or represent any band, venue, or company that I talk about, unless explicitly noted.

Want to use this image for something else? Great! Click it for the link to a high-res or resolution-independent version.

“Don’t record anything you don’t want.”


The entire article can be read right here, for free.


Tuning A VerTec System

You can do a lot by simply treating it like everything else you’ve worked on.

Please Remember:

The opinions expressed are mine only. These opinions do not necessarily reflect anybody else’s opinions. I do not own, operate, manage, or represent any band, venue, or company that I talk about, unless explicitly noted.

Want to use this image for something else? Great! Click it for the link to a high-res or resolution-independent version.

I’m sorry that I haven’t been around much lately – I’ve been busy. Very busy. So busy that I’ve been saying “No” to things a lot.

One element of my busyness has been being turned loose on a VERY classy room in Park City. For the moment, I won’t name it here, although you may have heard of it. (Not naming it here might be a little ridiculous, actually. Anybody can get on my Facebook page and see what I’m doing. Well, anyway…) It’s a little too big to classify as a small venue in my own personal taxonomy, but hey, as we’re all learning, many of the lessons in this business scale up and down.

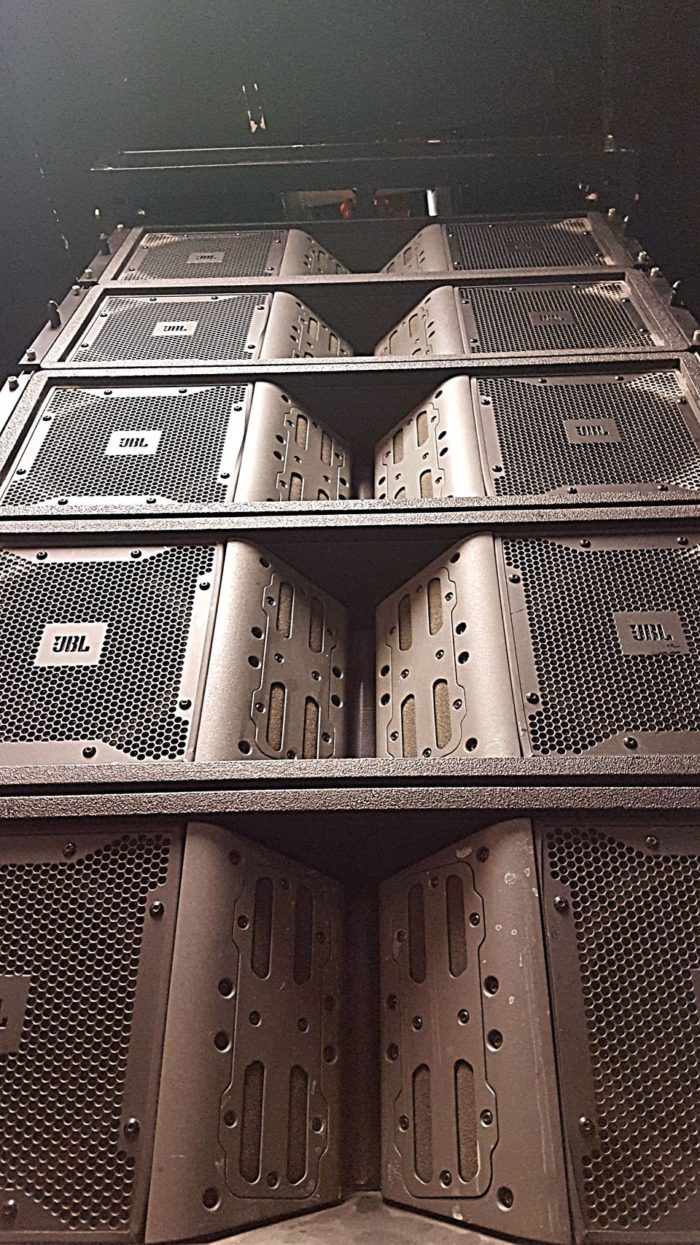
A task I was allowed to undertake was re-tuning the installed VerTec system. Some big complaints about it were an overabundance of “honk” and “boom,” and the hope was that I could do something to alleviate those problems. I believe I have mostly succeeded in making the rig better, and it was most definitely not an exotic process. I slapped a measurement mic in front of the FOH mix position, ran Room EQ Wizard, and got to work. The measurement traces confirmed what could be heard: The system was very heavy on the midrange, with some troublesome peaks in the subwoofer zone. After a bit of doing, we are where we are now, which is a much flatter place.

The main key, I can say, was to get over my own intimidation. VerTec, or really any similar system, looks hairy because of all the boxes involved. The thing to remember, though, is that for any given coverage zone the boxes are meant to combine into one big source. If you’re going to fret over something, fret over each overall zone of coverage, not the individual array elements. Pick your battles. As Bob McCarthy might say, decide what to tune for and ignore the rest. In my case, I had it pretty easy, because I chose to tune for the main room and not worry specifically about the boxes angled to hit people standing near the hangs. I didn’t have any outfills, infills, or other such coverage areas to consider.

A barrier that I encountered was that we’re locked out of part of the system management processor. With that being the case, I didn’t have the ability to adjust individual bandpass input or output levels. I did have EQ access, though, so that’s what I did all my work with. Was that an ideal situation? No, but what I’ve discovered over the years is that getting the basic magnitude response of a system to behave is the primary battle. I’m not saying other things don’t matter here. I’m not saying that adjusting bandpass gain by way of an EQ isn’t a kludge. I’m not recommending that, but I am saying that you might have to do it sometime, and it won’t ruin your life. Do what you can with the tools you have.

In the end, even with an imperfect approach, the system’s listenability has improved. We seem to be getting compliments on the sound in the room at a regular pace now. I’m certainly looking forward to next spring, when I plan to do another tuning that will start with tweaking amplifier gains first, but for now we seem to be in business.


An Open Letter To Event Planners

We need to be more clear with each other about what it takes to do things the right way.

Please Remember:

The opinions expressed are mine only. These opinions do not necessarily reflect anybody else’s opinions. I do not own, operate, manage, or represent any band, venue, or company that I talk about, unless explicitly noted.

Want to use this image for something else? Great! Click it for the link to a high-res or resolution-independent version.

Dear Event Planners,

My name is Danny Maland, and I’m what would commonly be called “a sound guy.” A/V. An audio human. Show crew. That kind of thing. I’d like to take a moment to address an issue that has caused me some problems over the years. I don’t know if it’s trending towards worse or better, but as a person with an engineering mindset, I usually pick “assume the worst” and go with it.

Now, before you mentally check out, please be assured that I’m going to stay away from snarky finger-pointing here. We’re all on the same team, and actually, I think that production has not always been good at being on the same team with you. My feeling is that we spend lots of time failing to explain our needs to you, and so assumptions get built that lead to poor outcomes. With that on the table, let me lay out the crux or nexus of this whole thing:

When it comes to the spacetime continuum, production needs a lot of it. A lot of all of it – both space and time.

There’s a significant amount of pressure out there to compress both schedules and square footage. Time is money, space is money, and both together are a lot more money. Clients like to save money, and so do I, but value-engineering live music is not something I can recommend. Any show, even one that is a repeat performance, is itself a singular event that can never be repeated. All of us have exactly one chance to get it right, and squeezing anything that supplies the endeavor (space, time, electrical power, etc.) increases the chance of a trainwreck.

You don’t want that, and neither do we.

As an event planner, I’m going to guess that you like specifics. So here are some for you to consider about space and time.

1) If you’re going to have a full band with pro-production at an event, please consider a 20 foot wide by 20 foot deep area (or about 37 square meters total) to be the bare minimum space for it all to happen inside. I know that some people will say, “That’s overkill!” but I really do mean this. Bands that are forced to be right on top of each other don’t perform to their full potential, and close quarters makes for mic-to-mic bleed that hampers a good mix. Feedback also becomes a real pain when the performers are in very close proximity to the PA system. Yes, some permanent venues have a smaller area to work with, but remember that we may be bringing everything with us. We don’t have the ability to do a fully maximized and tweaked install at the drop of a hat. We need cushion, especially when we’ve just loaded in and everything is spread out.

2) For scheduling, please have any production that’s self-contained with the music set to arrive a minimum of four hours prior to soundcheck. If you’re in a situation with no real loading dock, add another hour or two. We need lots of time to set and tune, especially when the space is one we’ve never been in before. You might think you want us to “throw and go,” but that’s not going to get you great results. I’ve gotten lucky on plenty of throw and goes, but not so lucky on others. I don’t think you want your event to be a luck-based mission. That’s too much uncertainty with too much money and reputation on the line.

The client may push on these things. The event space may try to get you to cut down. Please stand firm! We need your help to get this right.

So, that’s it. Let’s be sure to uncompress everything and work towards better results. Like I said, we’re all in this together. Our success is your success, so let’s work as a team to produce amazing things.

Best regards,

Danny


On Stages

A stage should be just high enough, should have plenty of surrounding clearance, and should be quiet.

Please Remember:

The opinions expressed are mine only. These opinions do not necessarily reflect anybody else’s opinions. I do not own, operate, manage, or represent any band, venue, or company that I talk about, unless explicitly noted.

Want to use this image for something else? Great! Click it for the link to a high-res or resolution-independent version.

I don’t often get questions via the Small Venue Survivalist Facebook Page, but when I do, I’m tickled. I mean, I’m being told explicitly what someone wants me to write about! No guessing! Who wouldn’t like that?

This is what made its way to my inbox, not too long ago:

“I was wondering if you would be interested in writing an article about the stage area in small venues (construction materials, elevation from the ground, surrounding area etc.)”

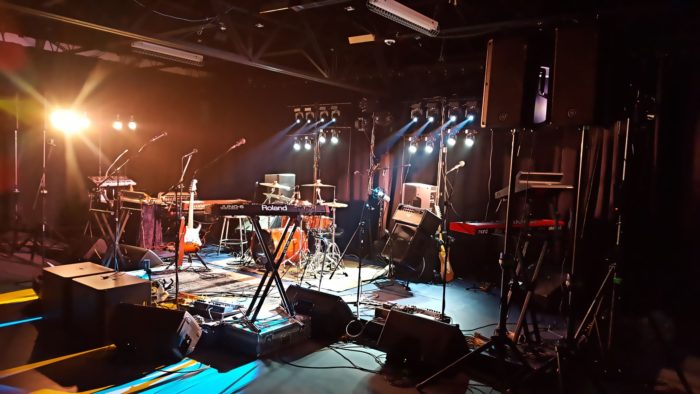
Why, yes. Yes I would be interested. What happens on stage is THE success or failure point on any show, anywhere, with any band, at anytime. This means that the stage itself is a critical component of the gig; Get it wrong, and the equation can tip entirely away from any chance of success. Get it right, and everything is so much easier and fun. So, what do I want to see in a stage? Well…

Code

First of all, compliance with local building codes and regulations is paramount. I can’t tell you what those rules are, because I’m not in your location. Do your homework, ask lots of questions, and cut no corners in the area of making your local inspector happy. Work with those people BEFORE you put a bunch of time, effort, and money into anything, or it’s likely that you will be very unhappy later.

Construction Materials

Quality is king. This doesn’t mean that a stage can never be built of salvaged or recycled bits. It DOES mean that whatever is being used must be in good shape. No rot, no rust, no cracks, no holes, nothing that would compromise structural integrity. This is very important for the #1 consideration, which is always safety. If it seems like it might be able to collapse, it probably will – there are plenty of stages that do NOT seem like they’re about to go to pieces, and yet they do.

Second, anything you build needs to be rigid and “dead.” Stages have impulse responses, just like rooms, mics, and loudspeakers. You want that impulse response to be as small and short as possible, so that when someone smacks a kick drum, plays through an amp, or listens to a monitor sitting on the deck, they are not also hearing the vibration of the stage. You can accomplish this with lighter materials and structural design for bracing and decoupling, or through heftier components that just don’t move much by nature. What you choose will depend on your needs and budget. My “dream stage” for sonics is either giant slabs of reinforced concrete, or cinderblocks filled with concrete. However, a system of well-braced wooden platforms with some sound-deadening sandwiching between the frame and top, plus carpet sitting above it all is entirely doable, far more modular, and workable with more accessible tools.

…and yes, I do encourage carpet. It discourages drums and other objects from moving around, with the handy benefit of absorbing some reflections. Shag, or other thick, loose piles aren’t the way to go, though. You want a tough surface that’s easy to clean and repellent to liquid.

Whatever you do, make sure to try it at a small scale first, to see what problems there are. Expect those problems to multiply as the scale grows larger.

Elevation

A stage that’s too low makes for sight lines that get blocked easily. Stages that are too high, though, have their own problems. Taller stages need more extensive ramps and stairs for accessibility, which means you lose usable area to the “padding” necessary for those considerations. You also want to stay away from overhead structures, especially untreated ceilings, because the closer you are to a reflector, the more gain-before-feedback problems you’ll have in monitor world. (Onstage intelligibility will also suffer, plus there’s that whole feeling of being in cramped quarters…)

With all that on the table, my advice is to go no higher than you must go for decent sight lines. The more clear height over your performers, the happier you are likely to be in an acoustical sense, and the elevation-changing ancillaries (like ramps and stairs) will be easier to handle. In any case, stage elevations above 21 inches (about 53 cm) aren’t something I recommend unless you have plenty of clear height, ample surrounding space, and a strong stomach for putting in safety lips and rails.

Surrounding Areas

As I hinted at above, forcing yourself to “pad” your stage area with a lot of extra surrounding space isn’t a great idea. You usually run out of room before you can get what you need. However, including that padding voluntarily IS a good plan. Lots of room to store band equipment and “dead” cases is very convenient, especially on multi-act gigs, and people love easy stairs and shallow ramps for getting on and off the deck. Too little padding means that getting up and down becomes treacherous and tiring, due to the abruptness of the elevation change. If you can choose to surround your stage with at least three feet (about 1 meter) of extra space, I recommend it.


The POTH Commentaries – Turbo Surround Reverb

It was actually a “mistake,” but I kept it.

Please Remember:

The opinions expressed are mine only. These opinions do not necessarily reflect anybody else’s opinions. I do not own, operate, manage, or represent any band, venue, or company that I talk about, unless explicitly noted.

Want to use this image for something else? Great! Click it for the link to a high-res or resolution-independent version.

Many things are discovered by accident. The glue for Post-It notes, for instance, was apparently an unintentional result of trying to create a much stronger adhesive. Gated reverb for 80’s-era drum tracks was also a case of “we didn’t intend to do this, but we liked it.” In the same way, Pigs Over The Horizon featured a vocal reverb with nifty characteristics that I didn’t plan out at all. In fact, at the time of the show I was a little surprised by its behavior, only realizing what I had done at a later time.

I had made the decision that any time-based FX processing for the show would be heard from the surround loudspeakers I briefly mentioned earlier. So, into the surrounds went my delay and reverb returns. What I noticed during the show was that, when Rylee, Grant, or Lisa “got on the gas” with a powerful vocal part, the surround reverb would launch like a rocket and punctuate that phrase. When they backed off, the reverb was much more tame. It was a cool bit of drama, so I kept it.

But what was really happening?

A habit that I’ve gotten into as an FOH mix human is to aggressively limit my main outputs. I don’t necessarily recommend my craziness to other people, but for me, the setup operates as a sort of automatic vocal rider, plus a method for keeping a mix in a bit of a box. I can, essentially, decide precisely how much the FOH PA gets to contribute to the overall volume of the show, and then set a “do not exceed” point. With the right settings in place (and a really excellent band on deck, of course) I can smack the limiter with the vocals – which helps to keep the lyrics on top without ripping people’s heads off. (Or, more precisely, it doesn’t rip people’s heads off any more than is necessary.)

So, for POTH, I definitely had that limiter in place. Here’s the key, though: It was NOT applied to the surround speakers. I had completely glossed over setting output dynamics for them. So, a big vocal part would happen, and go into the reverb send at full throttle. The dry signal would continue on to the main bus, where it got brickwalled…and the wet signal would blast through the unlimited surrounds. This “ex post facto” level adjustment to the dry vocal meant that my dry/ wet mix was suddenly tilted more in favor of “wet.” On the other hand, if a vocal part wasn’t smashed into the limiter, then my set proportionality was mostly untouched.

In a way, what I effectively had was an upward expander on the reverb send. A totally accidental one. Was it, technically speaking, “wrong?” Yes. Am I going to keep the basic idea around if we get to do the show again? Also, YES! It was cool! (Well, I thought it was…)


Regarding Electronic Drums

Electronic drums can be great, if you take the time to make them great.

Please Remember:

The opinions expressed are mine only. These opinions do not necessarily reflect anybody else’s opinions. I do not own, operate, manage, or represent any band, venue, or company that I talk about, unless explicitly noted.

Want to use this image for something else? Great! Click it for the link to a high-res or resolution-independent version.

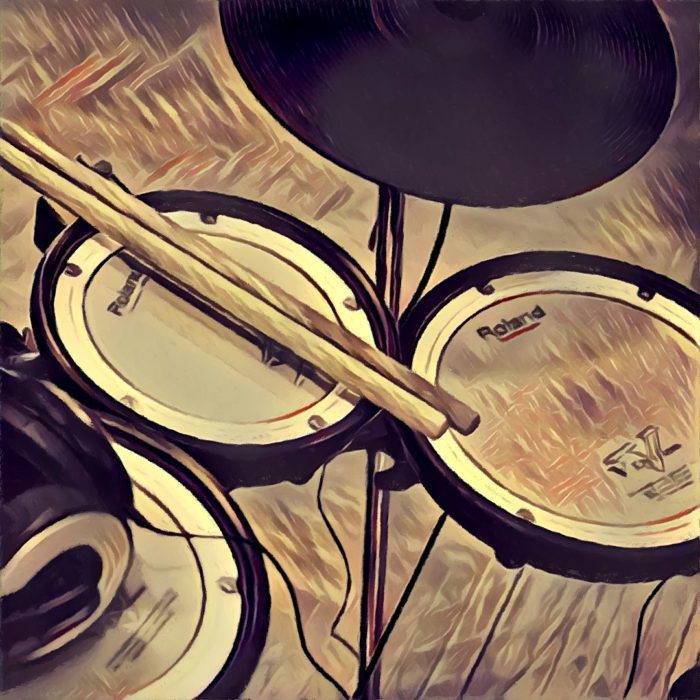
A question I was asked recently was about electronic instruments – “E Drums” in particular. The query was about how to do them well in a live setup. I’ve worked with bands that make use of electronic percussion, sometimes as an add-on, and sometimes as a core instrument. In either situation, there are a number of particulars that come together to make the sonics an effective part of the ensemble, and a workable element in the sound reinforcement equation.

Tell The Sound People What’s Coming

As usual, homework and communication are key. I’ve always had decent experiences with electronic drums/ sample pads/ whatever when everybody did their advance work: People told me what was coming, how many inputs were needed, what kinds of sounds to look out for, and brought both working gear AND a working knowledge of that gear to the gig. More difficult situations have arisen when musicians have surprised me with extra needs: “Well, yeah, we need two lines for the trigger pads, but we’ve also got this other unit that needs two more DIs, so…” Particularly a multi-band or full-on festival situation, information about those additional inputs would have been really good to have before we were setting up. It’s also tough when a piece of equipment has chronic problems, but it’s brought along to a mission-critical situation anyway in hopes that “It’ll hold together.” (Often, it doesn’t hold together and we waste time scrambling. Or it fails at a critical moment and really embarrasses you.)

Carefully Integrate Your Proportions

I know I say this a lot, but I’m going to say it again. If it sounded right in rehearsal, it has a fighting chance of sounding right at the show. If not – who knows?

Especially when it comes to blending triggered sounds with acoustic drums, getting the balance correct during practice is crucial. Even more crucial is being sure that the balance can be recreated live. An important example is found in the case of bands that want to blend an earth-shattering synth kick with loud, traditional drums. That’s a very difficult thing to do, unless you have a truly enormous PA system available. Anybody who has heard real drums in a real room knows that they can make as much noise as an entire small-venue PA rig, given a little effort on the part of the drummer. Drowning that special accent in a tidal wave of other racket is very easy. The folks who learn to play so that the accent has the room to actually do something are the successful ones. The people who expect a normal-sized audio system to somehow make 130+ dB at 35 Hz are the disappointed ones.

Corollary: If you want your electronic drums to sound massive, you need to figure out how “big” they can reasonably be, and make everything else significantly “smaller” than that. Meditate upon this.

If It Won’t Work Without [x], Bring [x]

You should always be able to be fully self-contained with electronic percussion. That is, if a certain amount and character of sound is absolutely necessary for your e-drums to work out, you need to have the option of providing that support yourself. This is another important reason to carefully advance the show; If you don’t, you may get a nasty surprise when the provided PA can’t do the job.

If The Blend Is Mission-Critical, Do It Yourself

With e-drums, I do like to be able to get separate outputs for kick, snare, a submix of toms, and a submix of cymbals/ FX/ and other percussion sounds. Just like with regular drums, its handy to be able to make some decisions about what’s right for the room. At the same time, I’m 100% onboard with getting a premix of everything, especially if you need a very specific balance. In the case of a lot of diverse sounds, where they don’t necessarily come together to function as one large instrument, it’s far better for you to build your own mix and hand it off to me. With a complicated blend, it doesn’t make sense to input a ton of lines and then struggle to put it all back together.

None of this information is really world-changing, but that’s the reality: There’s no shortcut, and no mystical knob of mix perfecting. Good communication and “gettin’ it right at home” are what pay the dividends.


The Pro-Audio Guide For People Who Know Nothing About Pro-Audio, Part 3

Onward to the microphone preamp…or trim.

Please Remember:

The opinions expressed are mine only. These opinions do not necessarily reflect anybody else’s opinions. I do not own, operate, manage, or represent any band, venue, or company that I talk about, unless explicitly noted.

Want to use this image for something else? Great! Click it for the link to a high-res or resolution-independent version.

“Signals at mic-level may require large, positive gain changes to correctly drive downstream electronics, and so a jack that can be connected to a microphone preamp is needed in that case.”

Read the whole thing, free, at Schwilly Family Musicians.