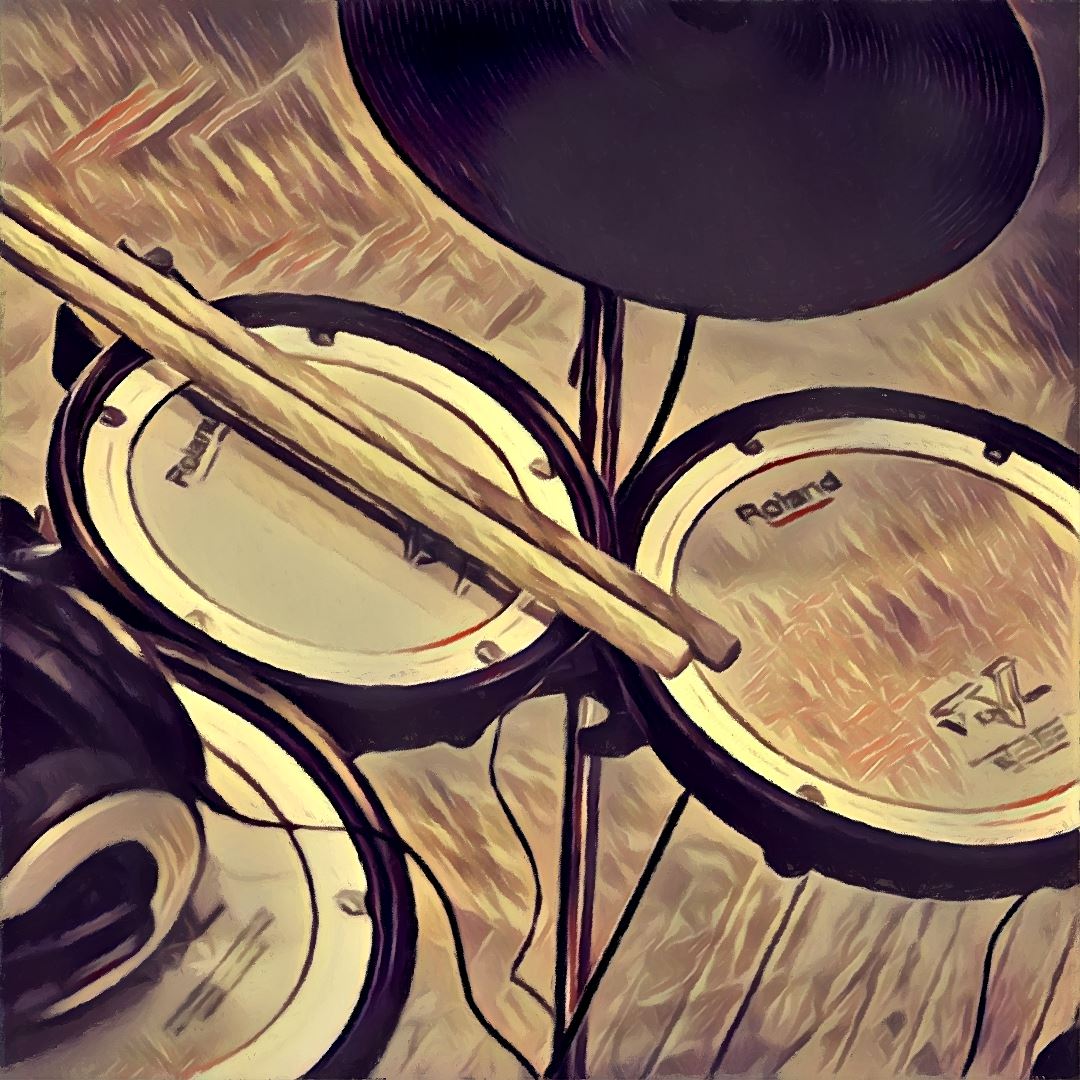
Electronic drums can be great, if you take the time to make them great.
Please Remember:
The opinions expressed are mine only. These opinions do not necessarily reflect anybody else’s opinions. I do not own, operate, manage, or represent any band, venue, or company that I talk about, unless explicitly noted.

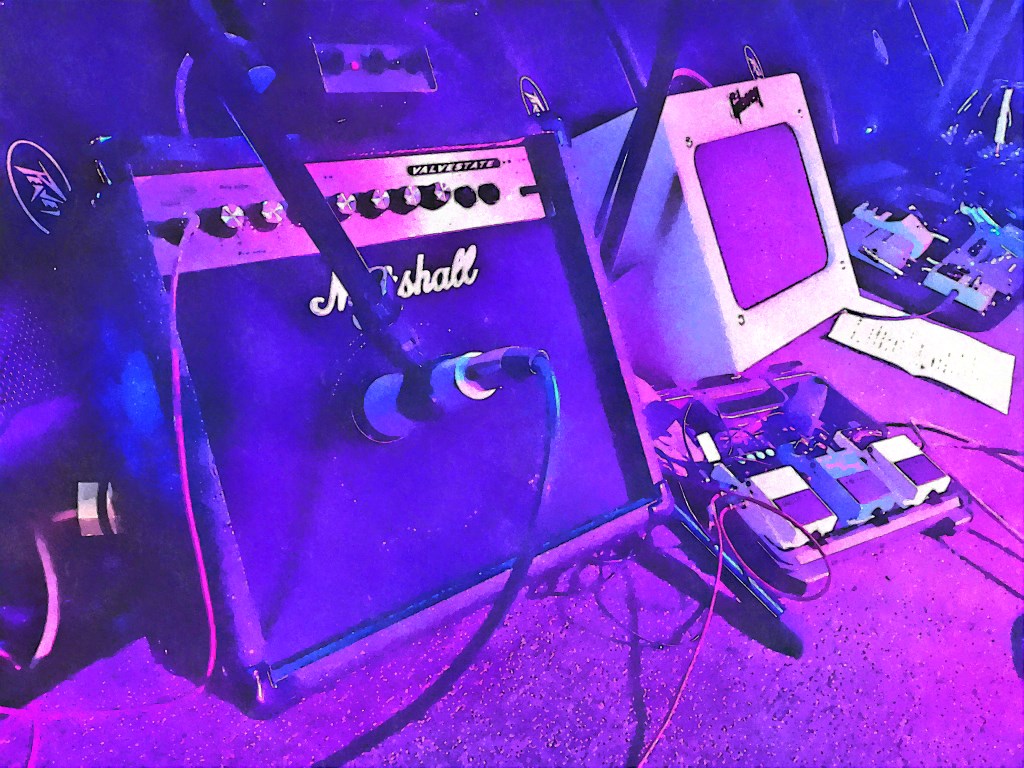
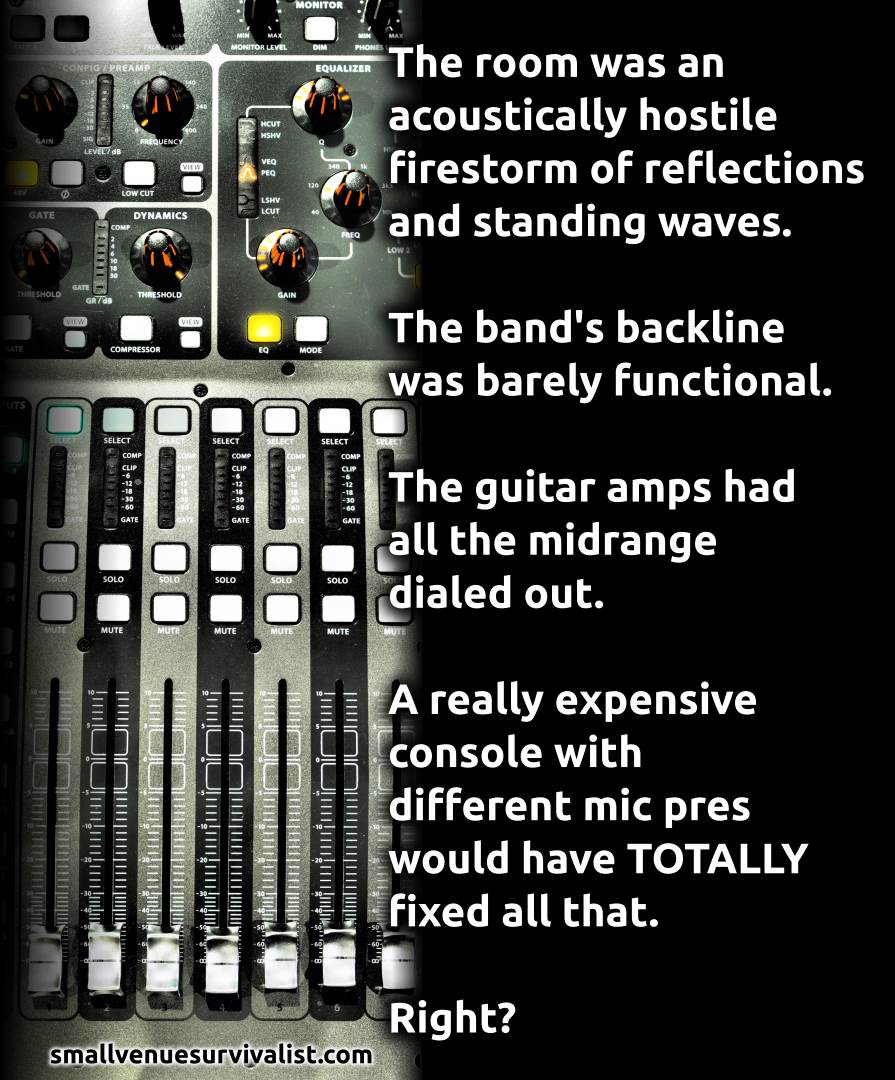
 Want to use this image for something else? Great! Click it for the link to a high-res or resolution-independent version.
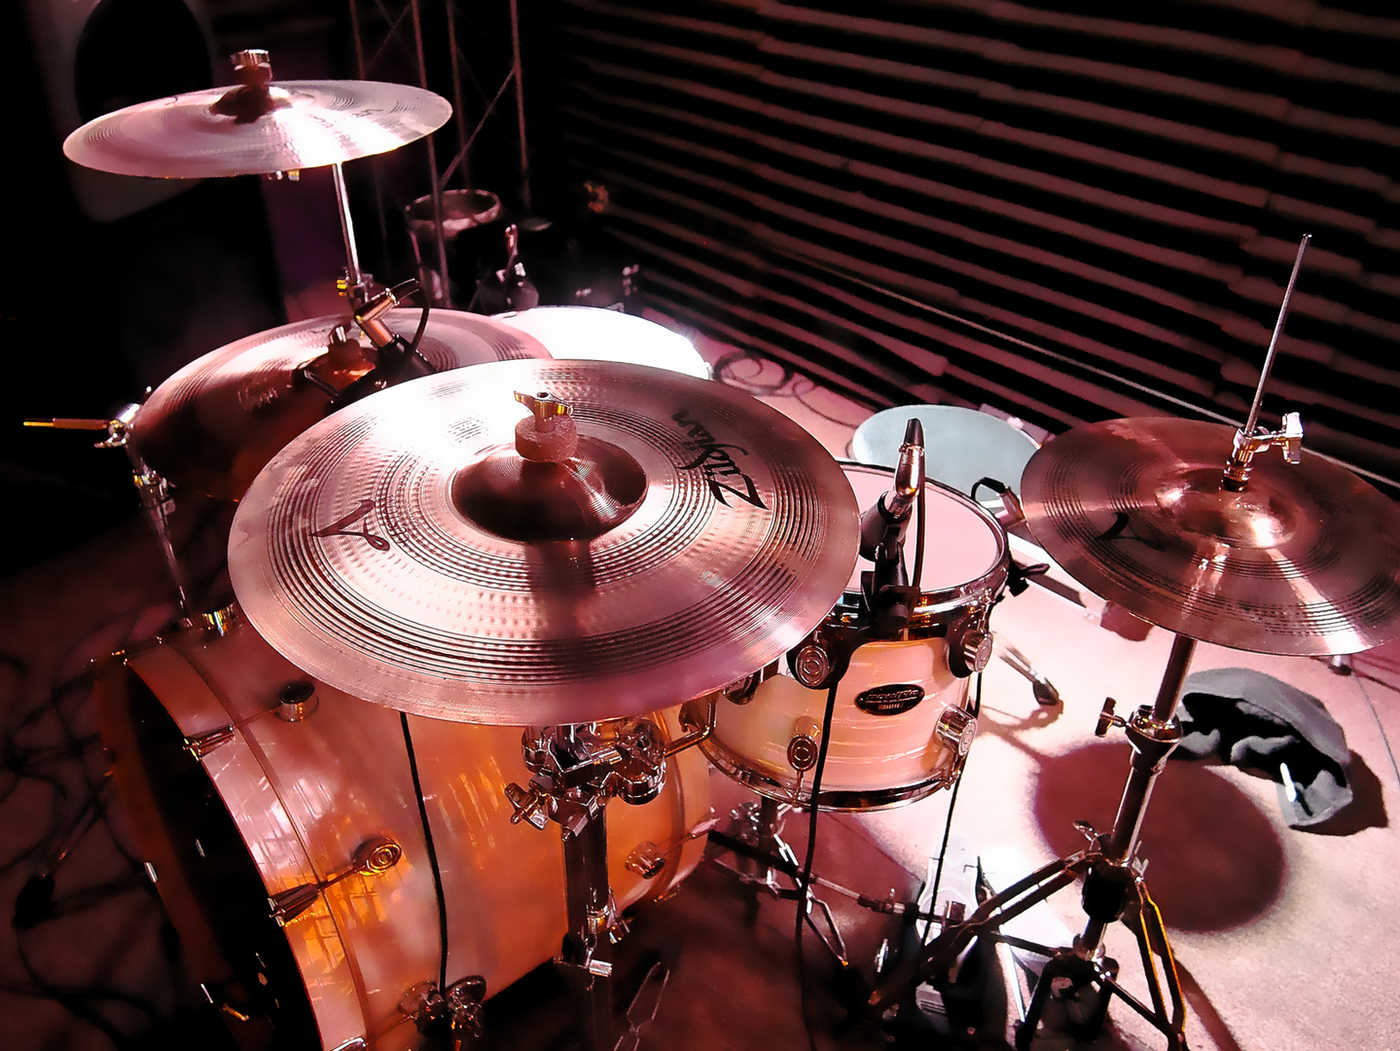
A question I was asked recently was about electronic instruments – “E Drums” in particular. The query was about how to do them well in a live setup. I’ve worked with bands that make use of electronic percussion, sometimes as an add-on, and sometimes as a core instrument. In either situation, there are a number of particulars that come together to make the sonics an effective part of the ensemble, and a workable element in the sound reinforcement equation.
Tell The Sound People What’s Coming
As usual, homework and communication are key. I’ve always had decent experiences with electronic drums/ sample pads/ whatever when everybody did their advance work: People told me what was coming, how many inputs were needed, what kinds of sounds to look out for, and brought both working gear AND a working knowledge of that gear to the gig. More difficult situations have arisen when musicians have surprised me with extra needs: “Well, yeah, we need two lines for the trigger pads, but we’ve also got this other unit that needs two more DIs, so…” Particularly a multi-band or full-on festival situation, information about those additional inputs would have been really good to have before we were setting up. It’s also tough when a piece of equipment has chronic problems, but it’s brought along to a mission-critical situation anyway in hopes that “It’ll hold together.” (Often, it doesn’t hold together and we waste time scrambling. Or it fails at a critical moment and really embarrasses you.)
Carefully Integrate Your Proportions
I know I say this a lot, but I’m going to say it again. If it sounded right in rehearsal, it has a fighting chance of sounding right at the show. If not – who knows?
Especially when it comes to blending triggered sounds with acoustic drums, getting the balance correct during practice is crucial. Even more crucial is being sure that the balance can be recreated live. An important example is found in the case of bands that want to blend an earth-shattering synth kick with loud, traditional drums. That’s a very difficult thing to do, unless you have a truly enormous PA system available. Anybody who has heard real drums in a real room knows that they can make as much noise as an entire small-venue PA rig, given a little effort on the part of the drummer. Drowning that special accent in a tidal wave of other racket is very easy. The folks who learn to play so that the accent has the room to actually do something are the successful ones. The people who expect a normal-sized audio system to somehow make 130+ dB at 35 Hz are the disappointed ones.
Corollary: If you want your electronic drums to sound massive, you need to figure out how “big” they can reasonably be, and make everything else significantly “smaller” than that. Meditate upon this.
If It Won’t Work Without [x], Bring [x]
You should always be able to be fully self-contained with electronic percussion. That is, if a certain amount and character of sound is absolutely necessary for your e-drums to work out, you need to have the option of providing that support yourself. This is another important reason to carefully advance the show; If you don’t, you may get a nasty surprise when the provided PA can’t do the job.
If The Blend Is Mission-Critical, Do It Yourself
With e-drums, I do like to be able to get separate outputs for kick, snare, a submix of toms, and a submix of cymbals/ FX/ and other percussion sounds. Just like with regular drums, its handy to be able to make some decisions about what’s right for the room. At the same time, I’m 100% onboard with getting a premix of everything, especially if you need a very specific balance. In the case of a lot of diverse sounds, where they don’t necessarily come together to function as one large instrument, it’s far better for you to build your own mix and hand it off to me. With a complicated blend, it doesn’t make sense to input a ton of lines and then struggle to put it all back together.
None of this information is really world-changing, but that’s the reality: There’s no shortcut, and no mystical knob of mix perfecting. Good communication and “gettin’ it right at home” are what pay the dividends.