The great thing about this business is that, nowadays, you can get a lot of functionality for a little money.
Please Remember:
The opinions expressed are mine only. These opinions do not necessarily reflect anybody else’s opinions. I do not own, operate, manage, or represent any band, venue, or company that I talk about, unless explicitly noted.

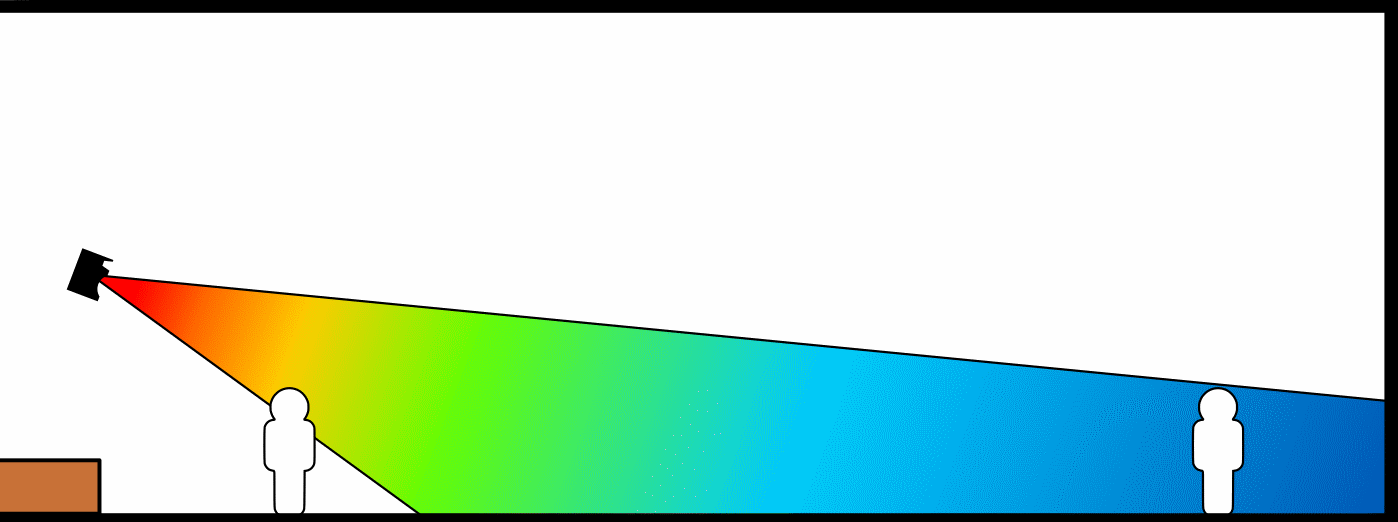
 Want to use this image for something else? Great! Click it for the link to a high-res or resolution-independent version.
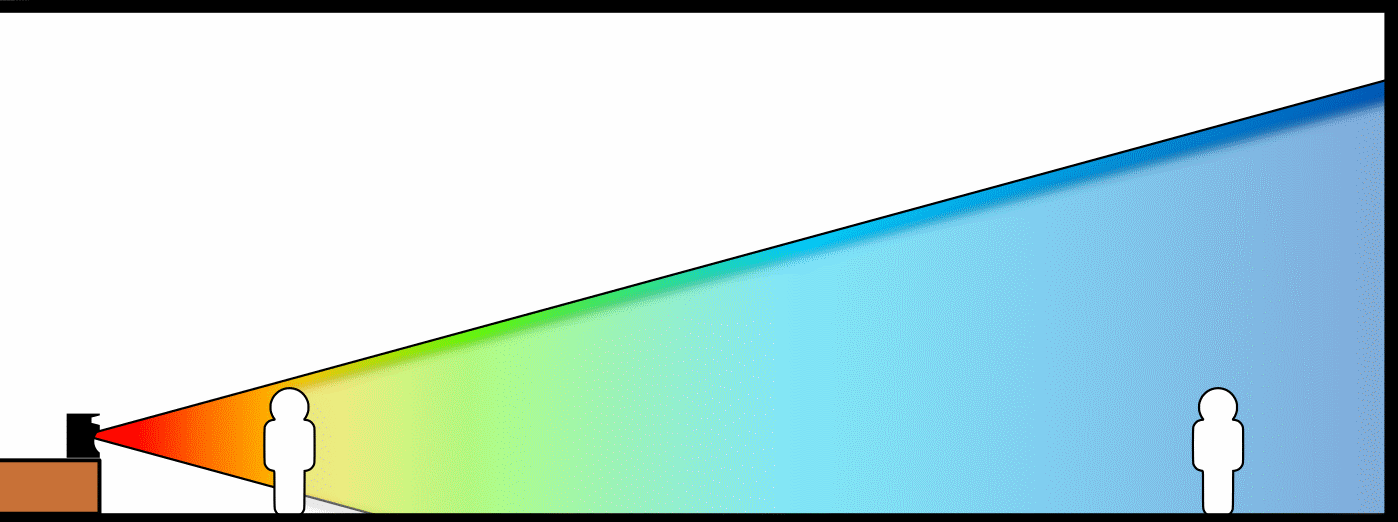
I just had the privilege of spending four days working in an amazing venue. I won’t be naming names here on the site, although where I worked (and who I worked for) are not secret – it’s just a bit of courtesy, as it was my “first rodeo” with the performing group.
The venue was not small by my standards. A 500-seater sits squarely in what I consider the “midsize” bracket. Also, the place has a gloriously high ceiling, full fly-system (you know, curtains, big battens to hang lights on, that sort of thing), tons of power, and pretty much whatever else you want. Plus, they have a helpful, good-natured, knowledgeable staff that are always around when you need them.
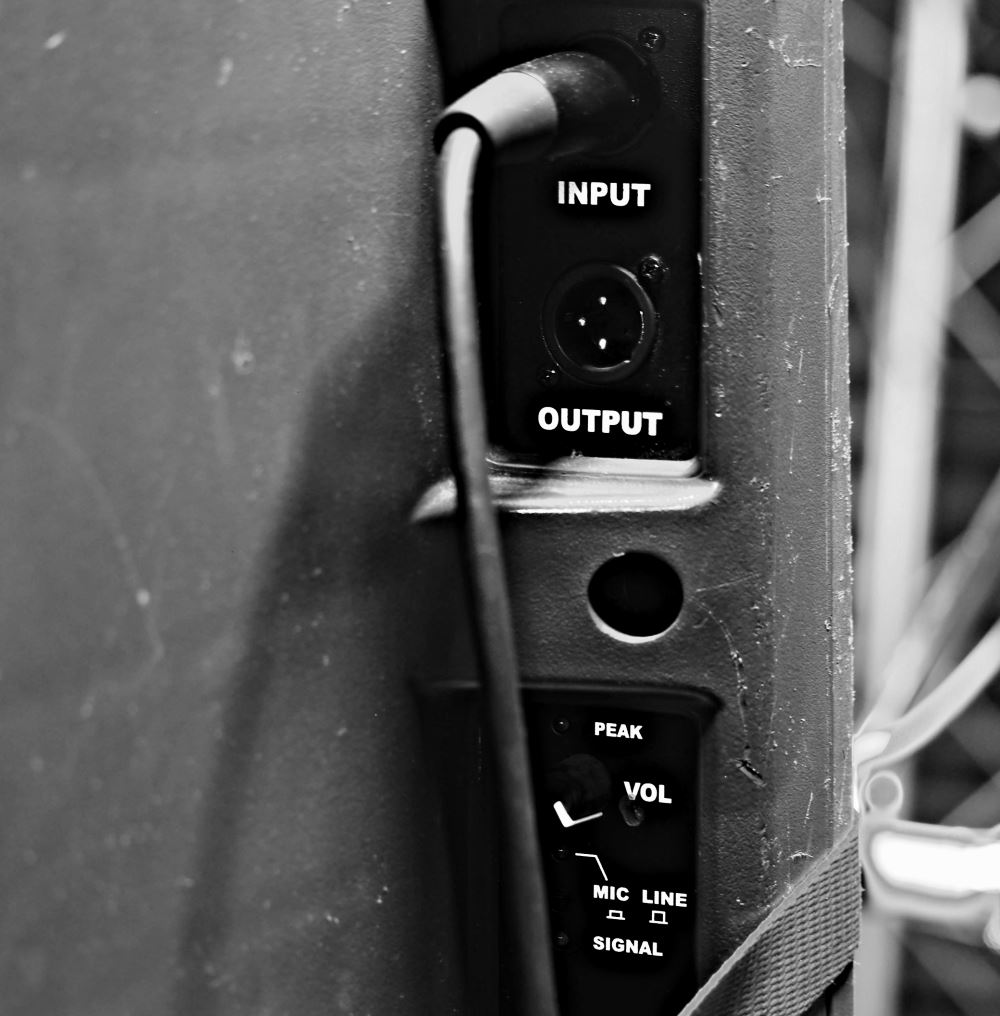
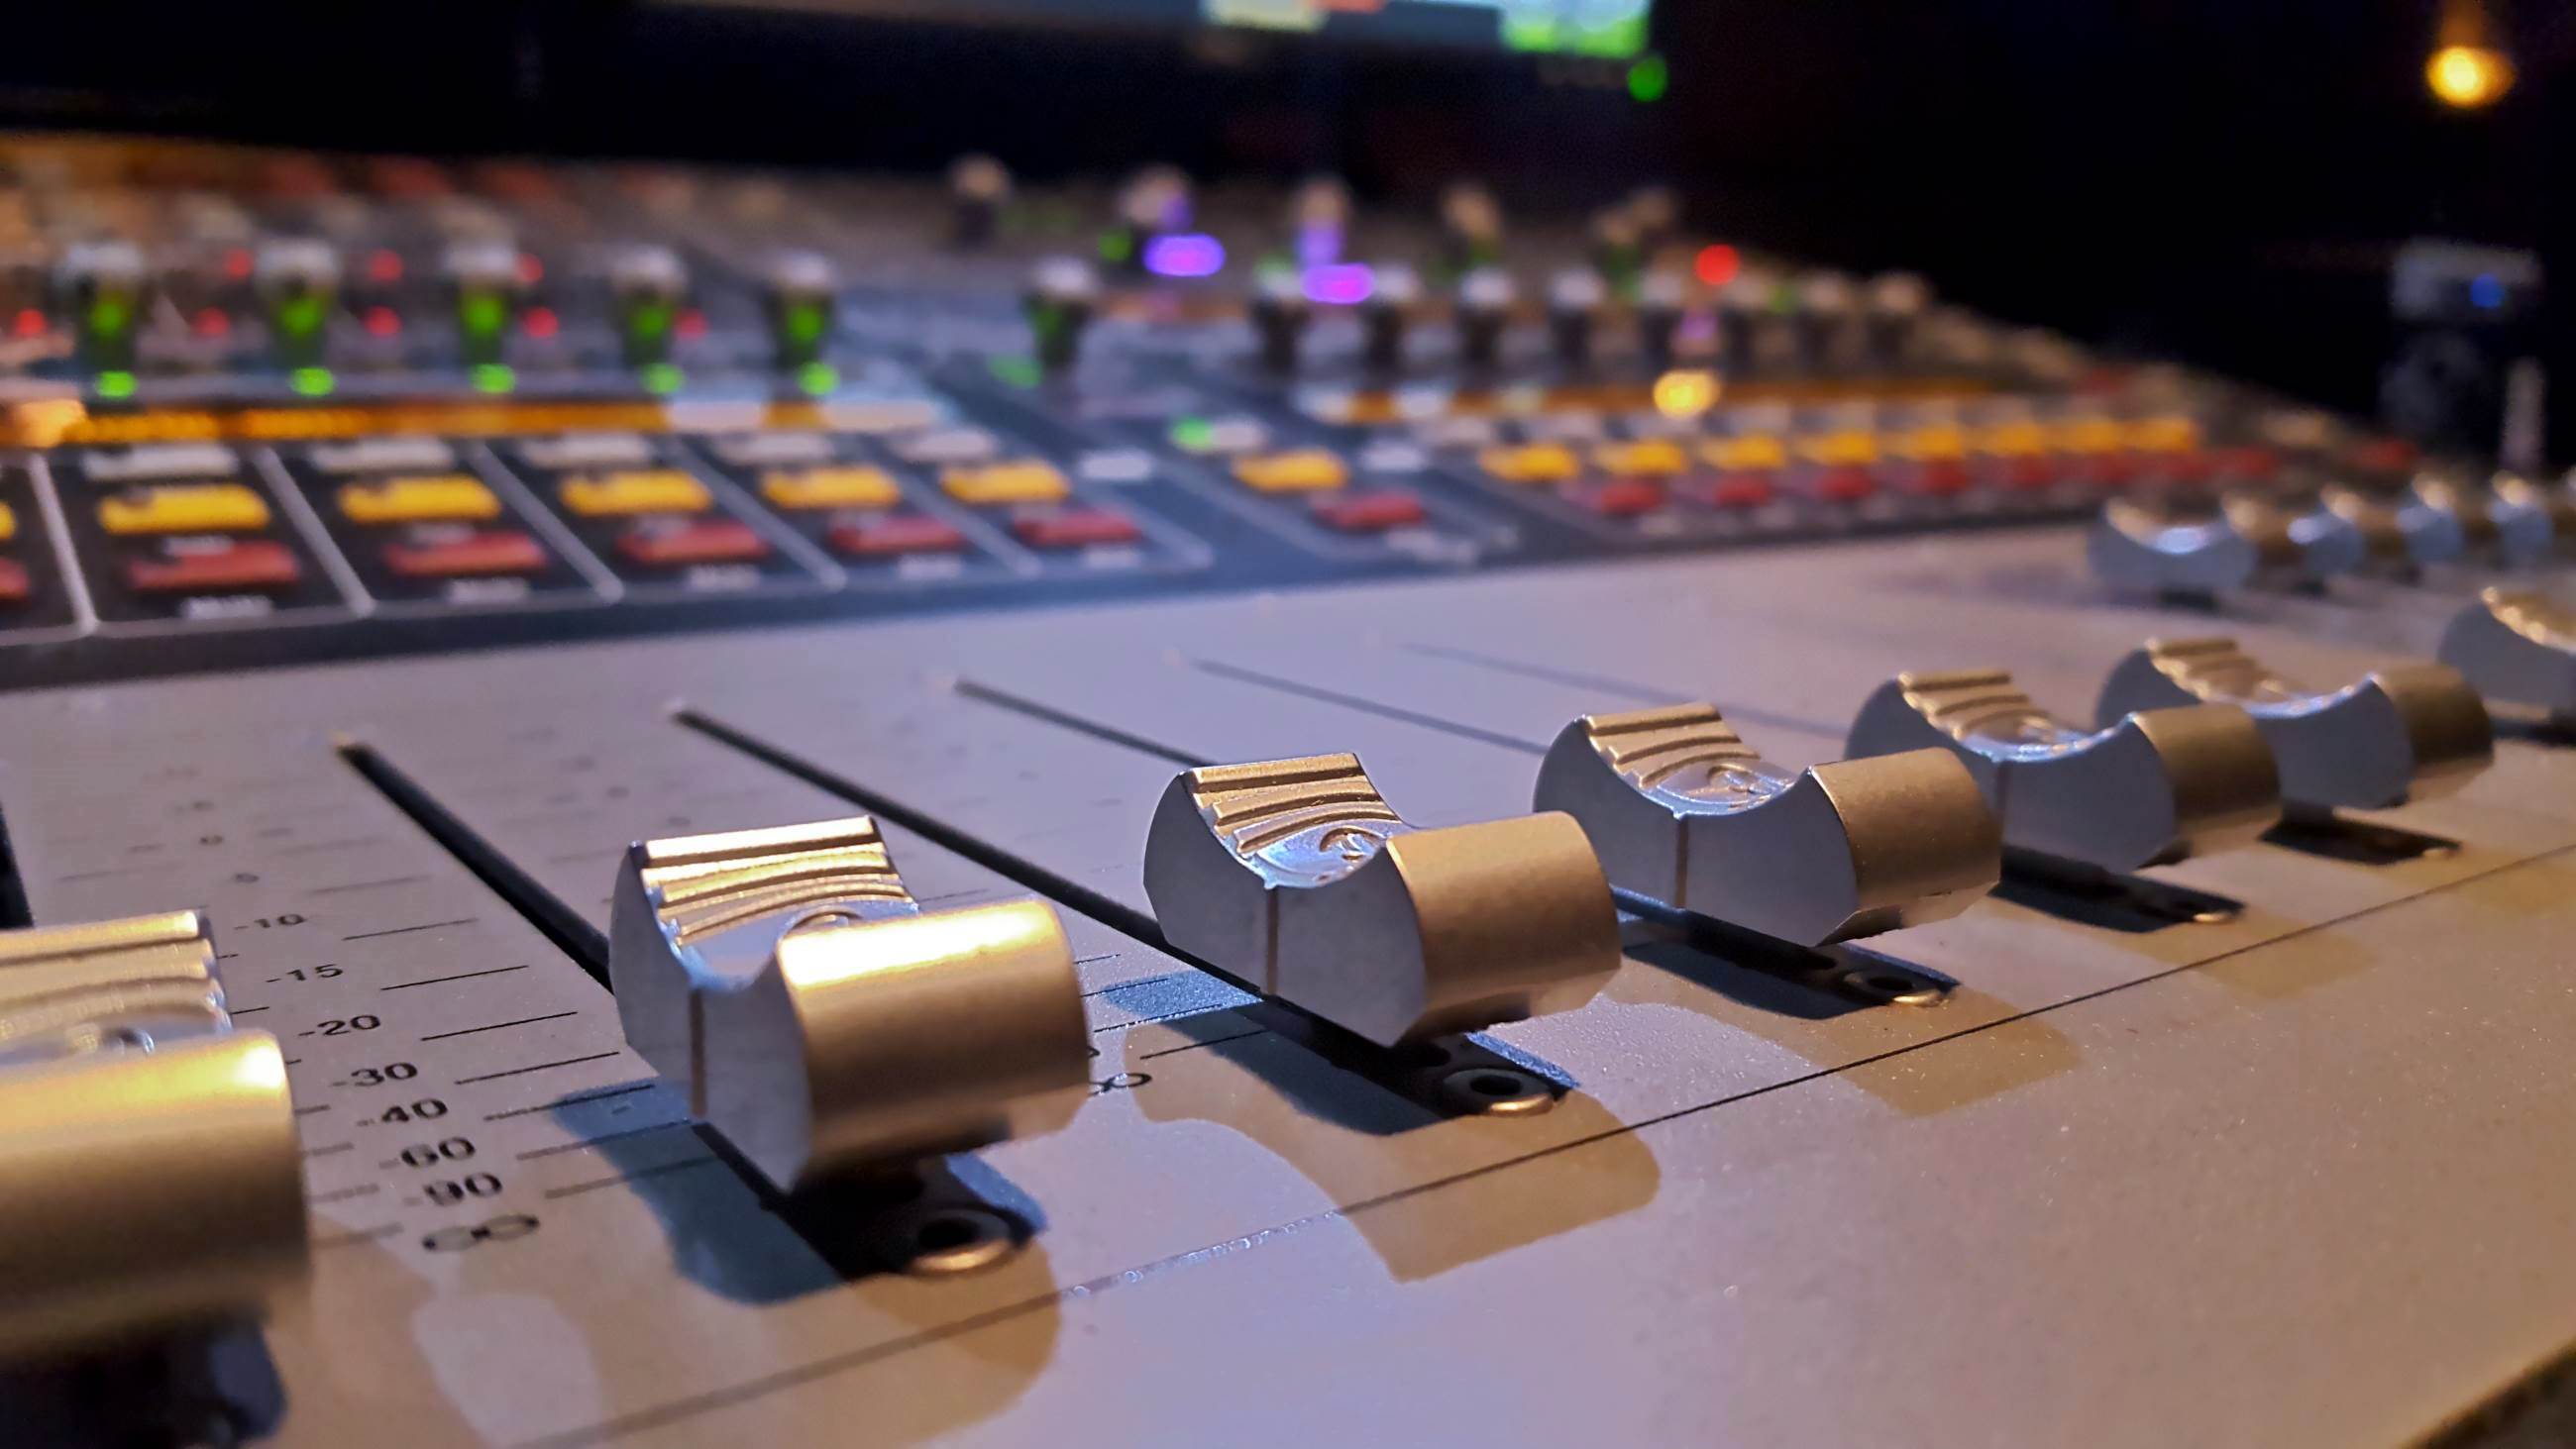
At FOH, they installed an SC48.
An SC48 is a tour-grade digital console by Avid. It’s one of those pieces of gear that folks salivate over, and with good reason. It’s got an eminently usable control surface, a well-designed software interface, and lots of channels. Plus, as I said, it is an honest-to-goodness tour-grade unit. When you’re driving one, you are very definitely sitting in “the big chair.”
A basic model of the SC48, purchased new, will run you about $29,000 US.
And, for less than 1/10th of that, you can buy a digital console that will basically do all the same things an SC48 can do.
I’m Not Slagging The SC48
I hope that it’s abundantly clear that I am in no way ragging on the Avid product. There are things that I wish were different on it, but that can hold on for a bit.
What I am saying is that the gap between “pro-sumer” units and the biggest, coolest toys is continually narrowing.
See, I have in my possession, right now, a Behringer X32. It’s not even the full-size model. Spending four days with an SC48 made it very clear to me that an X32’s core functions are entirely competitive with the Avid desk. By extension, this means that pretty much any “affordable” digi-mixer is competitive on the basis of core functionality.
Full dynamics processing available on all input channels? Check.
Multi-band, fully parametric EQ on all input channels? Check.
A snapshot system? Check.
Recallable input gains? Check.
Matrix mix functionality? Check. (Matrix mixing is creating a blend of inputs and/ or outputs, as opposed to regular bus and aux mixes which are input-fed only. I don’t really use matrices, but it is one of the features, so…)
Now, let’s be fair. When you invest in something like an SC48, you’re buying more than just the core functionality. You’re buying (hopefully) great manufacturer support, which can get you out of a jam on nights and weekends. You’re buying redundant power supplies. You’re buying industry recognition and acceptance of the hardware and software platform. You’re buying (again, hopefully) better and more careful manufacturing. You’re buying a product which is meant to have a lengthened life cycle.
None of that is a mere triviality.
At the same time, though, those elements represent a VERY large price premium that doesn’t really make sense for small-venue types.
How Much Is It Worth To You?
Yes, an SC48 can run ProTools plugins, which is something my X32 can’t handle.
I did find that functionality very useful!
Because – for some bizarre reason – Avid doesn’t seem to think that integrated dynamics and EQ on OUTPUT channels is something anybody needs. (Avid…guys…if a console costs as much as a car, I really think that full processing on outputs ought to be there. Just an idea. Behringer can help you with that, as can Soundcraft, A&H, Yamaha, whoever you like.) Also, an X32 can’t crossfade from scene-to-scene, whereas an SC48 does it intuitively and effortlessly. Along with that, there’s very finely-grained control over what is “recall safe” on the Avid. I liked all that for the show I was doing, and it’s super-nifty in general, but I don’t know if I’d be willing to pay $26,000 extra for the privileges.
The ease of patching on the Avid unit blows most other implementations completely out of the water. Again, though, I’m not sure that’s worth a 14X price differential. (As a side note, if you can handle the routing matrix in Reaper, you can patch on an SC48. The concepts are exactly the same.)
Pretty much the only thing that you can’t get around is the option of having 48 inputs in one frame.
I realize that this sounds dangerously close to ripping on the SC. What it really is, though, is a celebration of just how level the playing field is becoming. Some folks lament that everything is turning into software; I, on the other hand, think it’s great. It means that affordable gear has staggering power and flexibility. The work you can do with a relatively inexpensive mixer really is not that far away from what a big-time desk can pull-off. There are definitely folks who need the tour-grade units, and can pay for them. You HAVE to have the appropriate tool for the job, and I’m not suggesting that folks who need all that an SC48-class console provides should use an incorrect tool.
I’m just saying that, more and more, the technological barriers to the best possible sound being available from a console are collapsing. As time goes on, operator dedication, curiosity, and professionalism – which have always mattered the most, anyway – are completely eclipsing the limitations of the “toolkit.”
Because the toolkit is getting better and more capable on a continuous basis.