In the end, you have to be able to read a graph for the graph to be useful.
Please Remember:
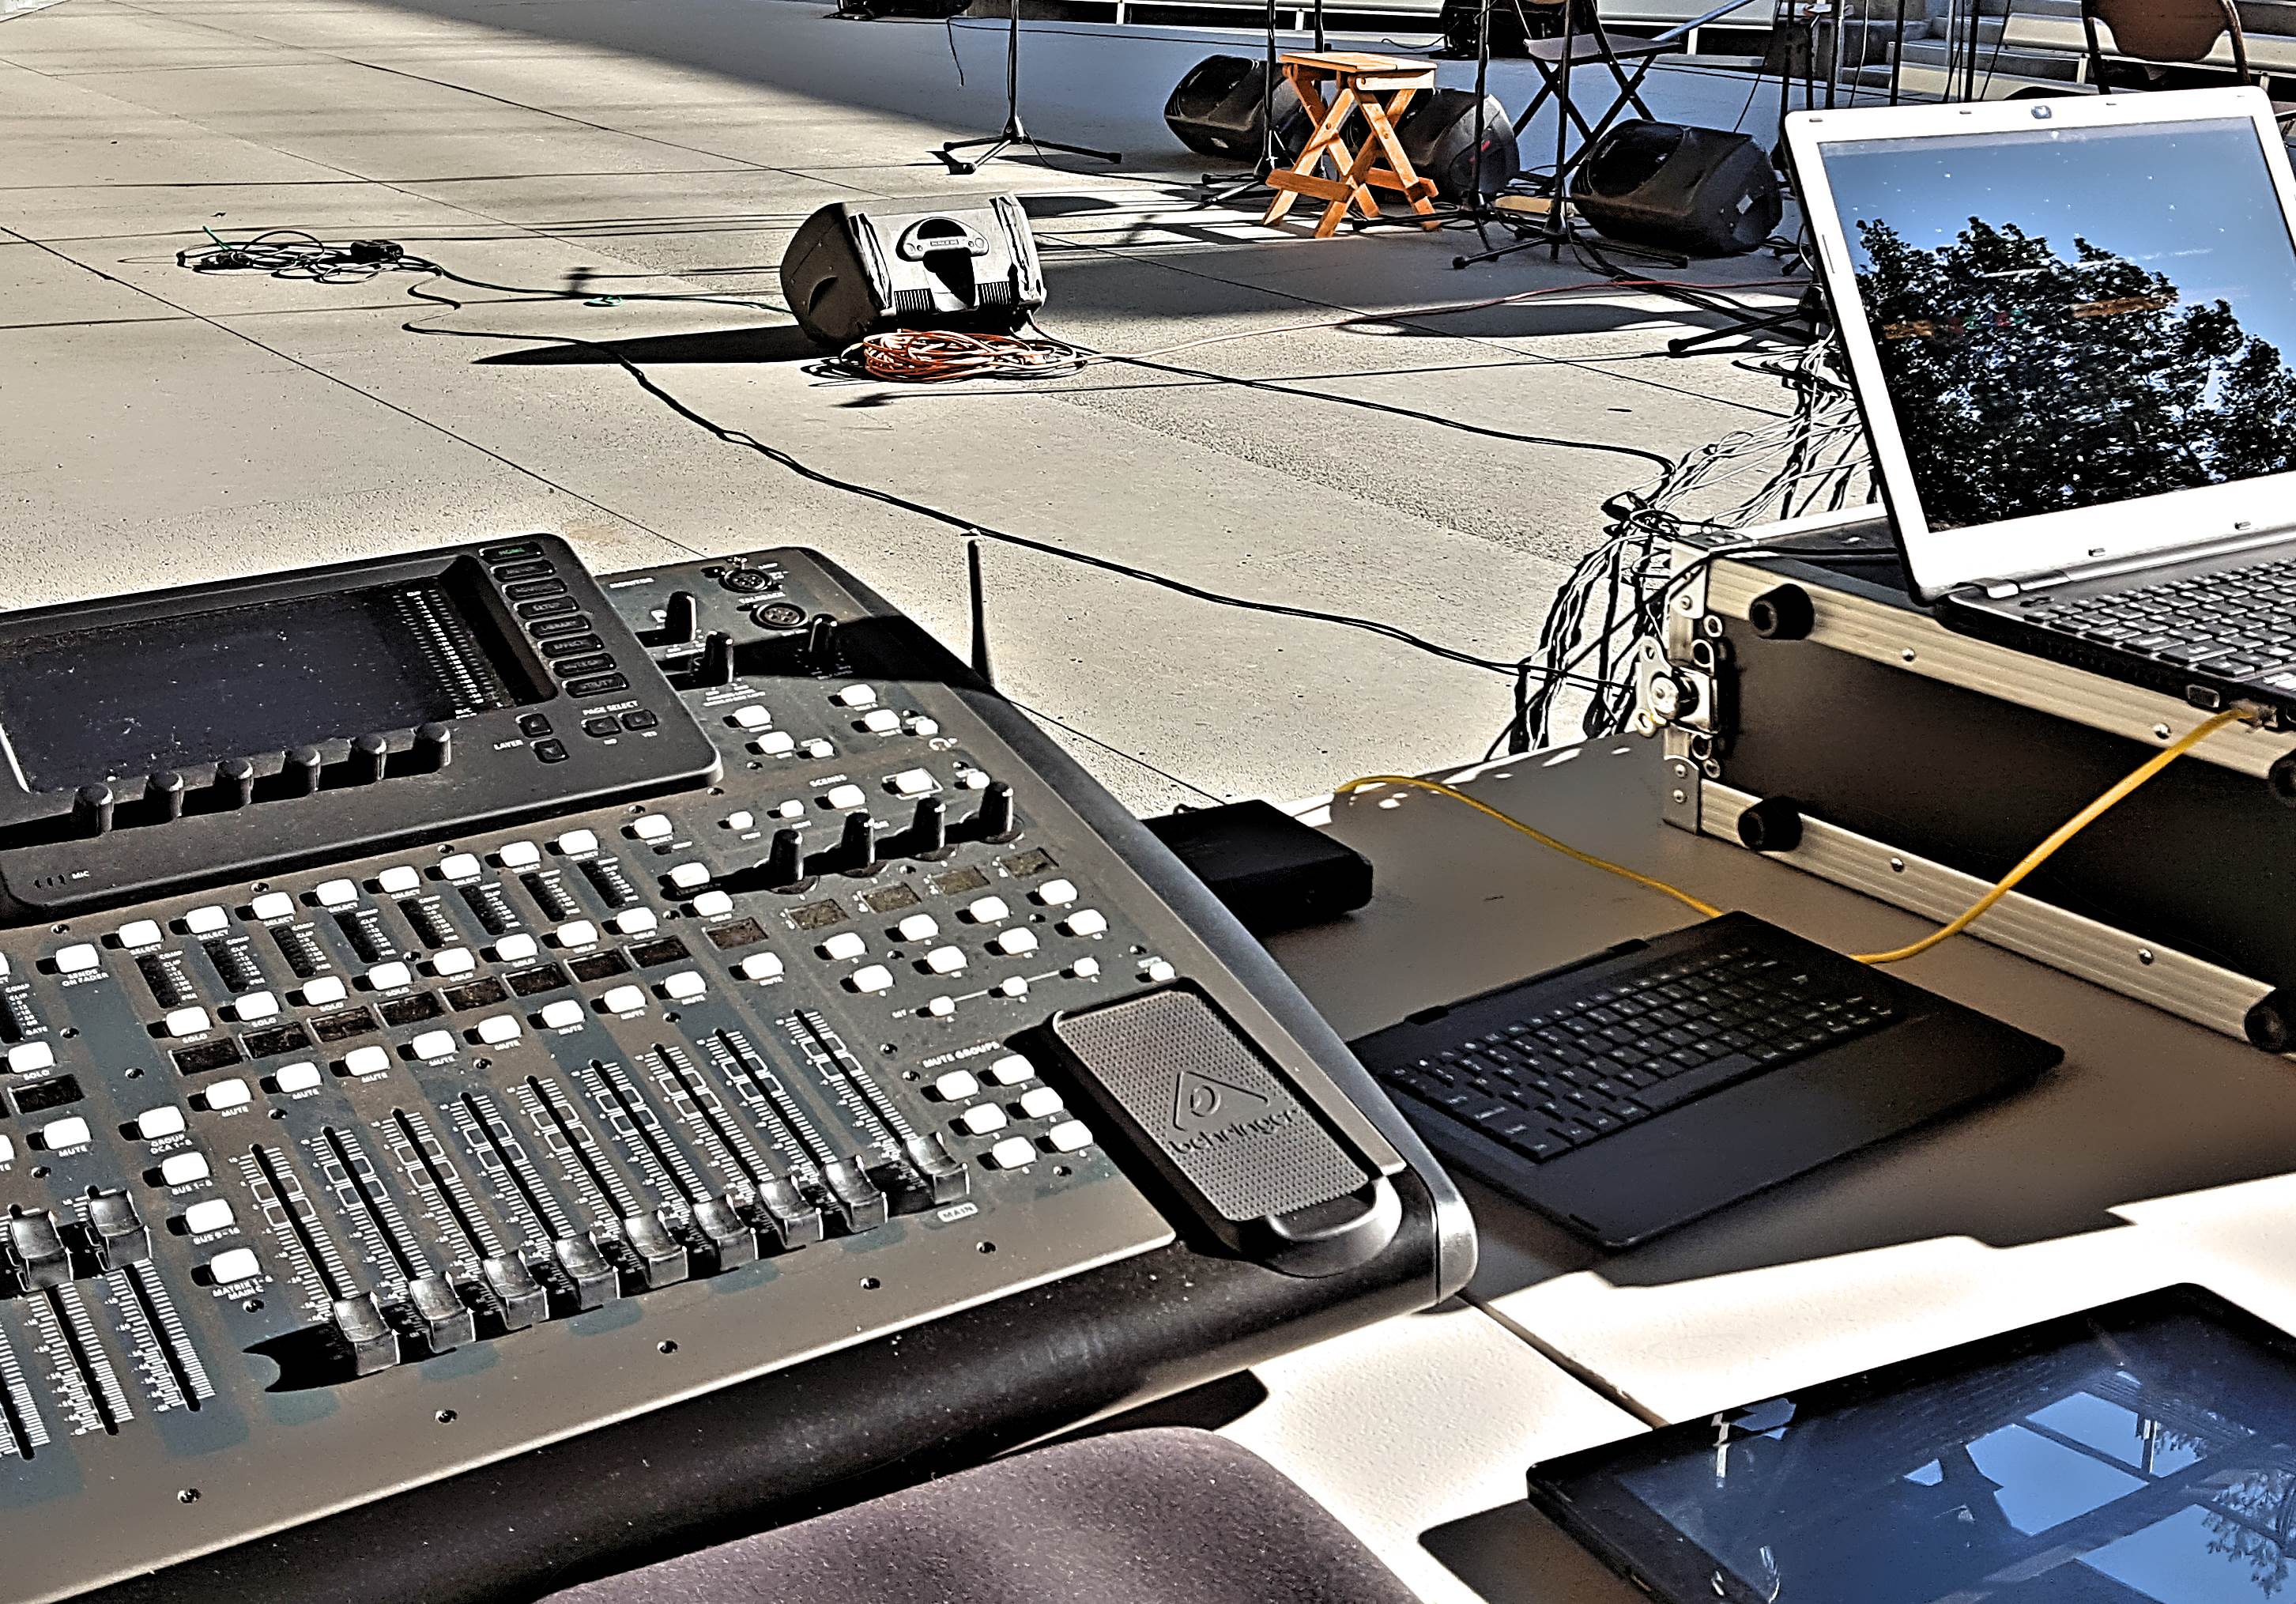
The opinions expressed are mine only. These opinions do not necessarily reflect anybody else’s opinions. I do not own, operate, manage, or represent any band, venue, or company that I talk about, unless explicitly noted.

 Want to use this image for something else? Great! Click it for the link to a high-res or resolution-independent version.
There are people out there who insist that, when measuring an audio system, you should never smooth the trace. The argument is that you might miss some weird anomaly that gets filtered out by the averaging – and, in any case, the purpose of graphing a transfer function isn’t for the picture to look nice.
I think that’s an understandable sentiment, especially because it’s a thought uttered by people who I think are knowledgeable, respectable, and worth working alongside. At the same time, though, I can’t fully embrace their thinking. I very regularly apply 1/6th octave smoothing to measurements, and I do it for a very specific reason: I do indeed want to see the anomalies that matter, and I need to be able to clearly contextualize them.
The featured image on this article is an example of why I think the way I do. I’ve got a bit of a science-project going, and part of that project involved measuring a Yamaha DBR12. The traces you see in the picture are the same measurement, with the bottom one being smoothed. The unsmoothed trace is very hard to read for all the visual noise it presents, which makes it difficult to make any sort of decision about what corrections to make. the smoothed trace gives me a lot more to go on. I can see that 90 Hz – 150 Hz could come down a bit, with 2 kHz – 7.5 kHz maybe needing a bit of a bump to achieve maximum flatness.
So, I say, smooth those traces…but don’t oversmooth them! You want to suppress the information overload without losing the ability to find things that stand out. The 1/6th octave option seems to be the right compromise for me, with 1/12th still being more detail than is useful and 1/3rd getting into the area where too much gets lost.
And here’s another wrinkle: I support unsmoothed traces when you’re measuring devices that ignore acoustics, like the transfer function of a mixing console from input to output. In such a case, you should expect a very, very linear transfer function, and so the ability to spot tiny deviations is a must. The difficulty is when you’re in a situation where there a gazillion deviations, and they all appear significant. In such a case, which I’ve found to be the norm for measurements that involve acoustics, filtering to find what’s actually significant to the operation of an audio system is helpful.