You may have to reboot – or you might not want to.
Please Remember:
The opinions expressed are mine only. These opinions do not necessarily reflect anybody else’s opinions. I do not own, operate, manage, or represent any band, venue, or company that I talk about, unless explicitly noted.

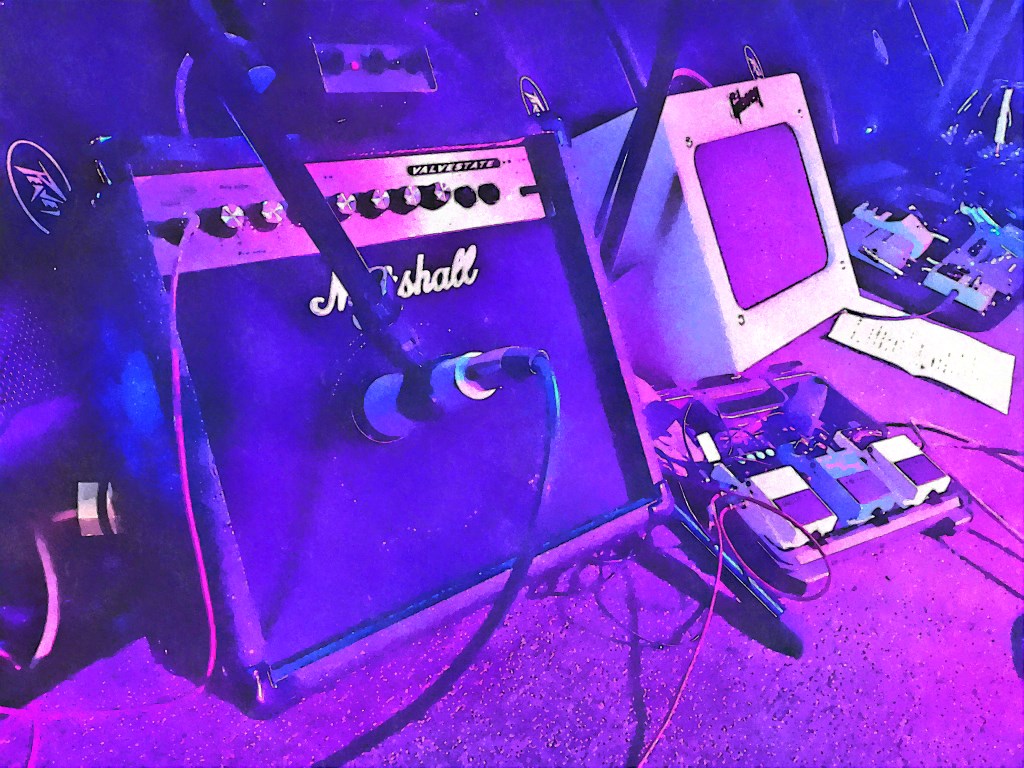
 Want to use this image for something else? Great! Click it for the link to a high-res or resolution-independent version.
Back in “the day,” we got wind of an exciting development: Consoles now existed that had a measure of independence between the actual audio processing and the control system. If the controls – the “surface” – had a problem, you could restart the surface without interrupting your show. Neat!
Of course, only the big boys and girls had access to this. I still have in my possession a pair of digital consoles that do not allow that kind of behavior. When they were newly built, the asking price per each was $3000. Nowadays, you can swipe a card for $450 and get the DSP part of a digital console equation that’s noticeably better.
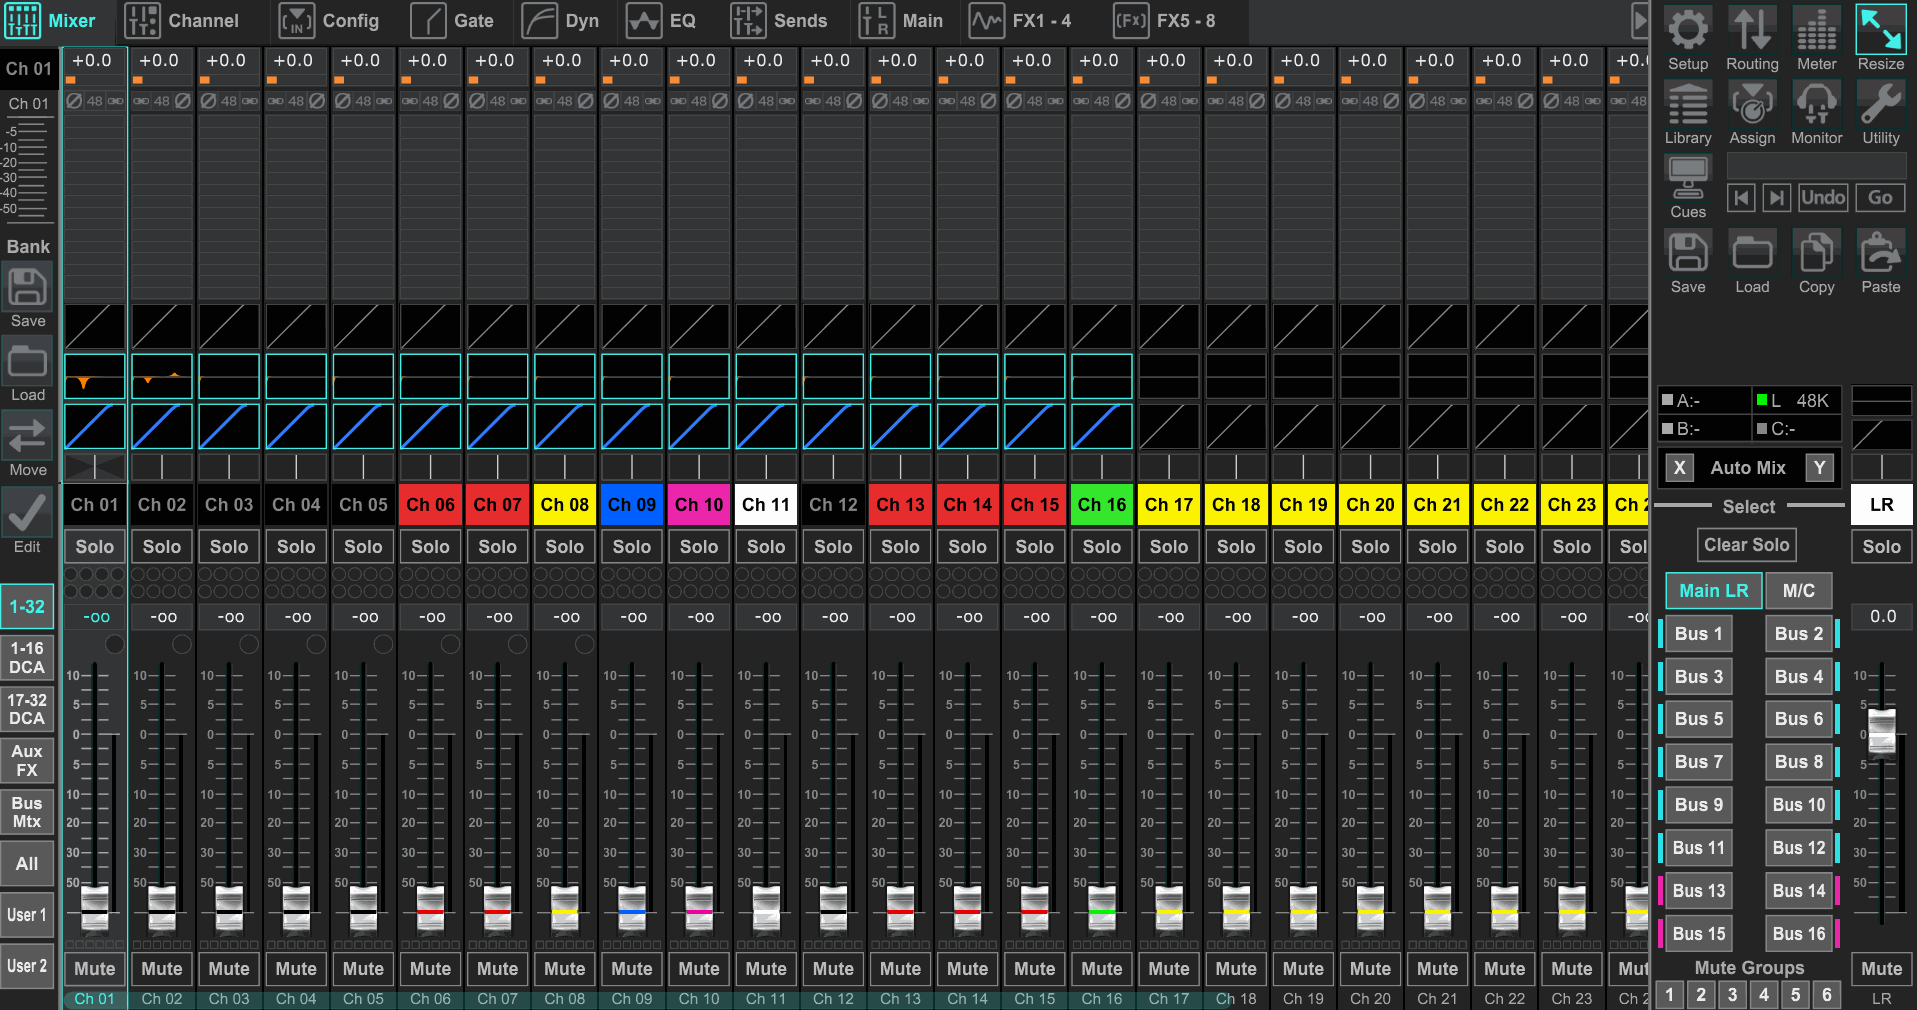
These new, mini-consoles are designed to connect to a tablet or computer via a network, presenting a virtual surface through the external device. The convenient and fast way to do this is over WiFi, and it’s great when it’s really working…but it’s not so great when something goes amiss. (To be brutally frank, it’s another case of “It takes a pretty darn spendy wireless unit to be as good as a $5 cable.”) The console keeps charging along, passing audio without a hitch. You, on the other hand, are sitting there, somewhat alarmed that your display is freezing and lagging like a Tenderfoot Boy Scout on his first cold-weather hike.
So, what do you do?
Well, first, I would urge you to remember that disrupting a show or event is the last thing you want to do. Second, you need to keep in mind that some control is better than no control at all. Third, having no control at a critical moment will disrupt the show. (You see, Simba, we are all connected in the great circle of…mic cables…no…loading in and out…no, that’s not it…)
Anyway.
The point is that if you reboot your surface, or the WiFi module that communicates with it, you are no longer a “pilot in command.” Instead, you’re a pilot strapped to a jet that is going to do whatever it was last told to do, come hell or high water. That might be a good thing; A right thing. It might also be the wrong thing, or a thing that’s so horrifically bad that you want to hide your eyes and run for an exit. In whatever state you are, you are going to be stuck until the surface or network is back up. How long will that take? A few seconds? A minute? Several minutes?
You may not be able to be sure.
If the problem is degrading your control, but not completely preventing it, keep what control you have. Only reboot if you actually lose control, and that’s what you need to do to return to the driver’s seat. If it looks like you’ll soon be forced to let the system drive itself for a bit, try to use what influence you have left to make your mix stable and accommodating of coming changes. Open all channels that might need to be un-muted in the next while, and pull your output masters down a bit to guard against feedback.
Otherwise, just let the situation ride. Things might be clumsy and disconcerting, but you’ll be able to get through.
And have an alternative control connection available if at all possible. Like something that uses a $5 cable.